Welcome
Welcome to the user guide for the Help Desk Portal. This portal serves as a vital tool for customers to submit tickets when they require assistance with the daily operations of the PagoNxt Payments service. This document is complemented by the 'SUPPORT MODEL', which can be accessed through your implementation manager.
Access to the portal
To access the portal, please navigate to the URL help.pagonxtpayments.com using your web browser.
User verification is conducted through a two-factor authentication process. As part of the login procedure, you will be prompted to select an authentication method. This step is implemented to ensure that only authorised users can access the portal, thereby helping to maintain the security and integrity of your information.
Login and set up
To log in, click the 'Login' button and enter your email address along with your password.
Next you will be prompted to select an authentication method.
.png)
To complete this example let´s imagine you have chosen to verify who you are via an authenticator app such as Google Authenticator. The next prompt will ask you to use your authenticator app to scan the QR code
.png)
You will need to complete this two factor authentication process each time log on.
Finally As part of this process you will receive an email confirming that you have successfully added the app.
.png)
Profile set up
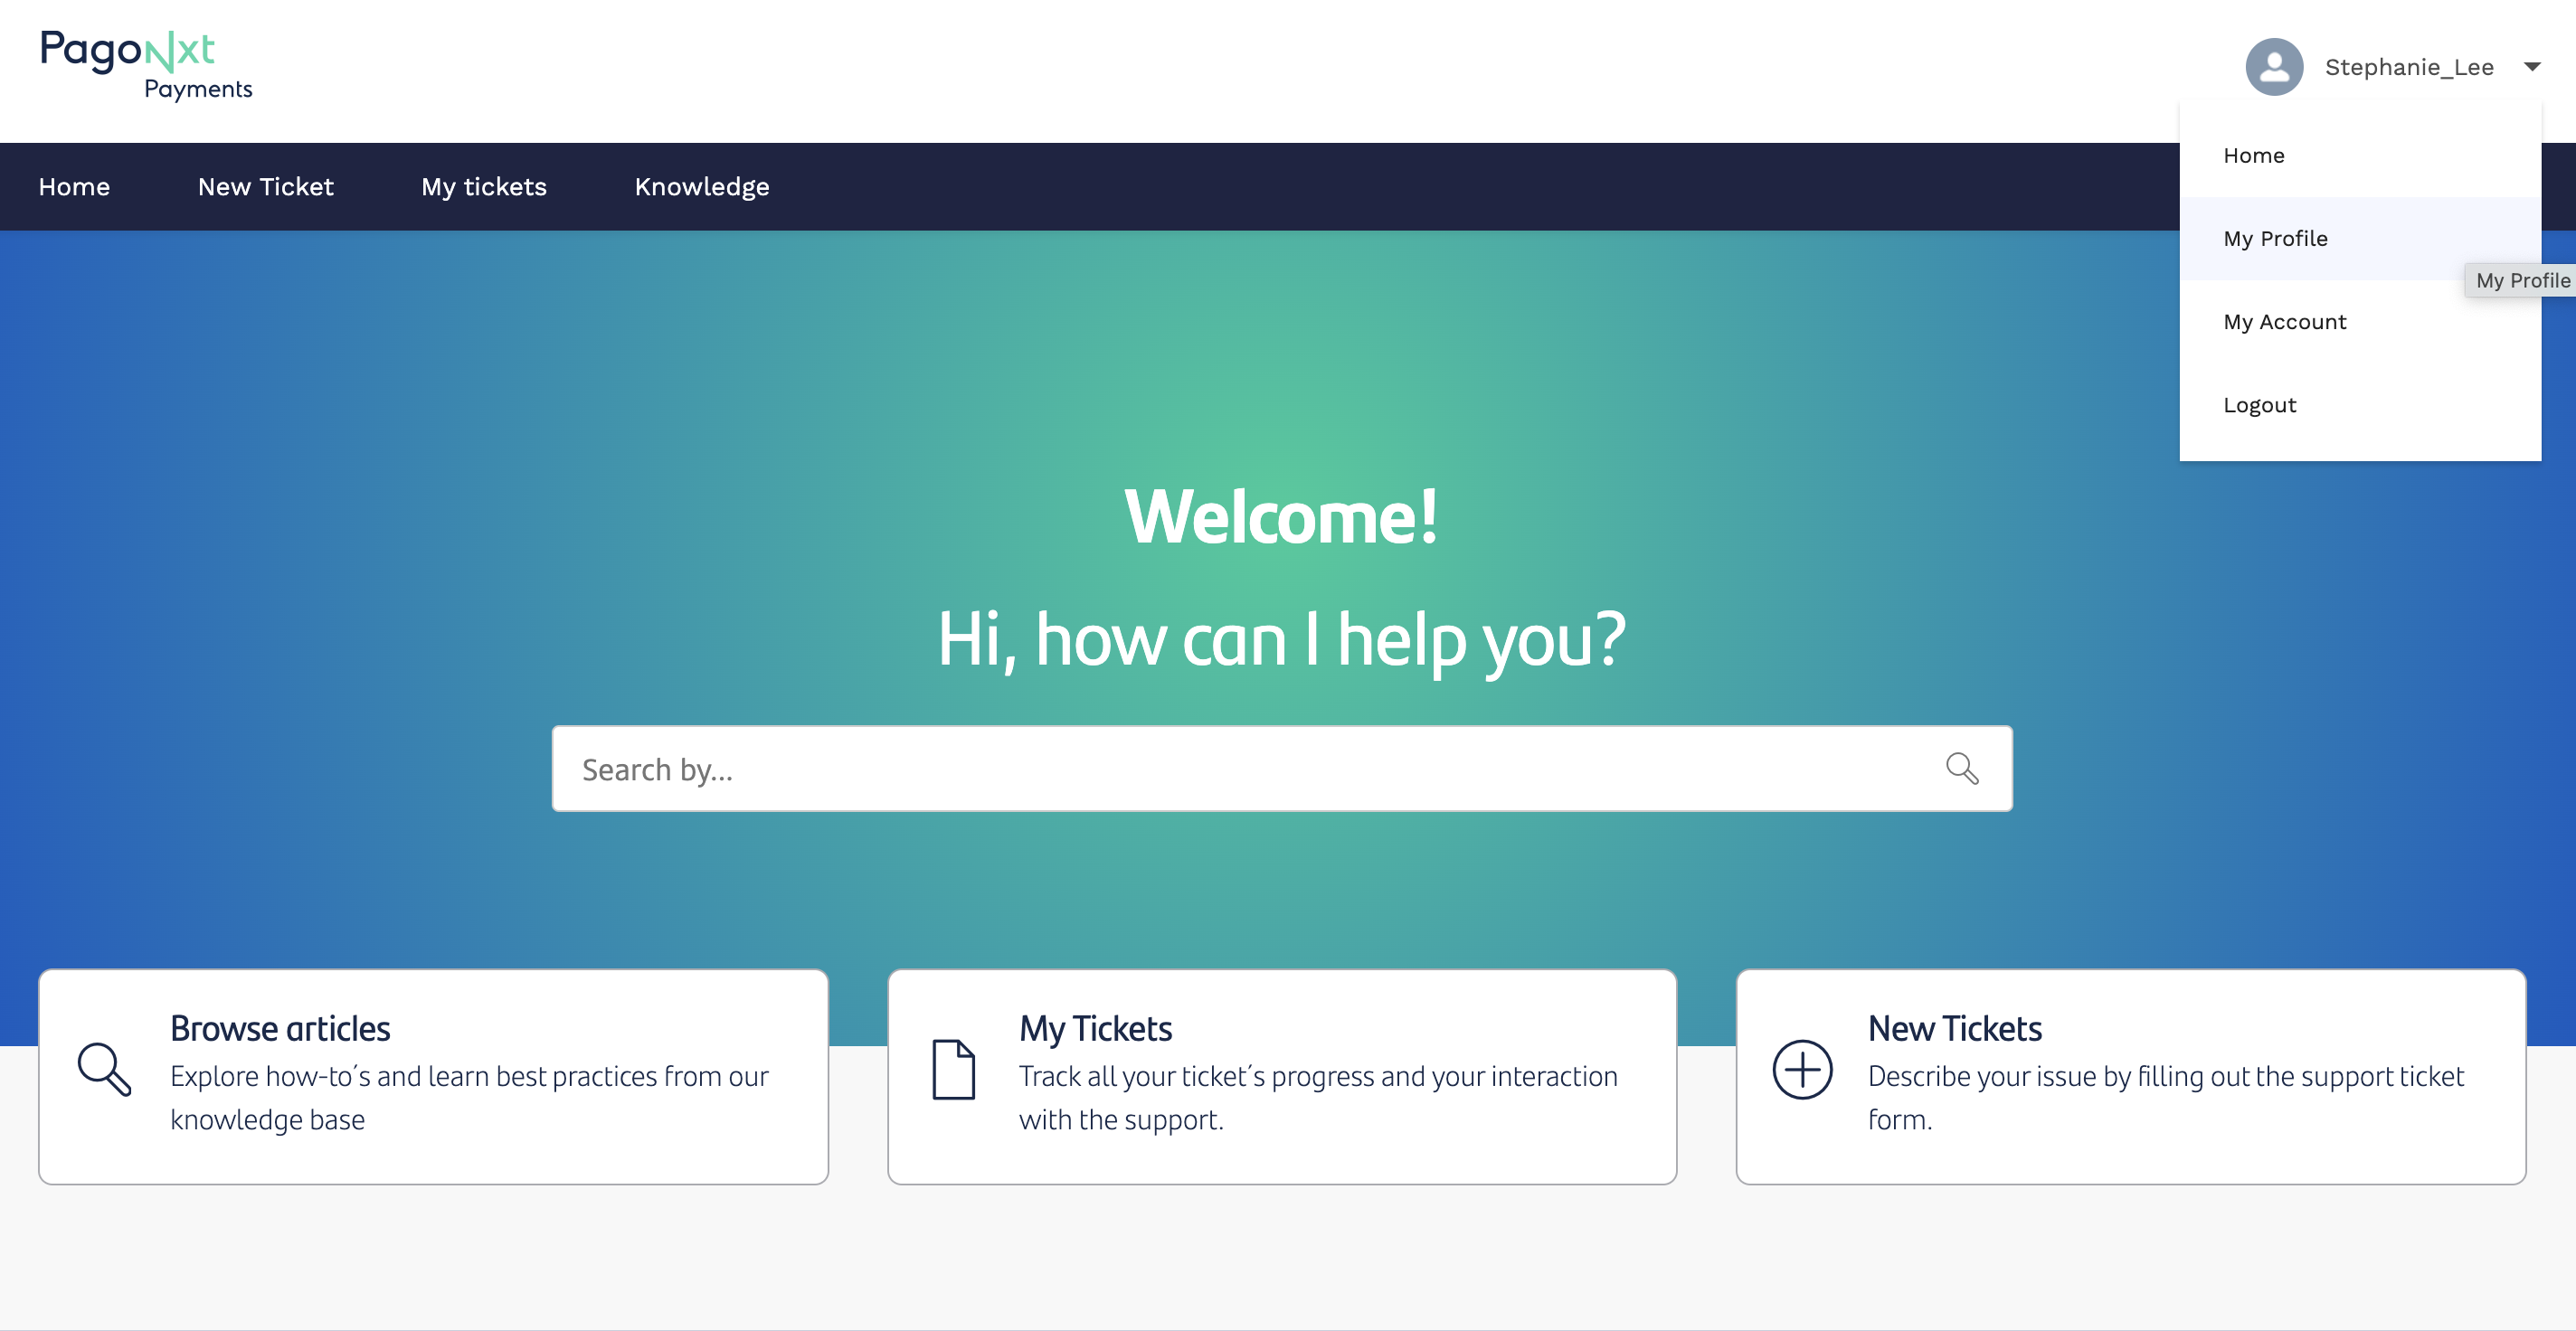
When inside the portal, click on your name in the navigation bar. A drop down menu will appear. ´My profile´ will allow you to adjust the settings of your profile.
Case creation
Creating a request
All requests submitted through the help desk portal must be categorised as either a Service Request, Change Request, or Incident.
When filling out a ticket, the fields presented will differ depending on your previous selections.
Regardless of the type of ticket you choose, each submission must include the following information:
Subject
Environment (Pre-Prod / Prod)
Description (preferably accompanied by relevant documentation)
Additionally, the ticket form allows you to CC any individuals or distribution lists that should be informed. Please note that CC'd recipients can monitor the conversation and participate in discussions without needing to log into the portal for notifications.
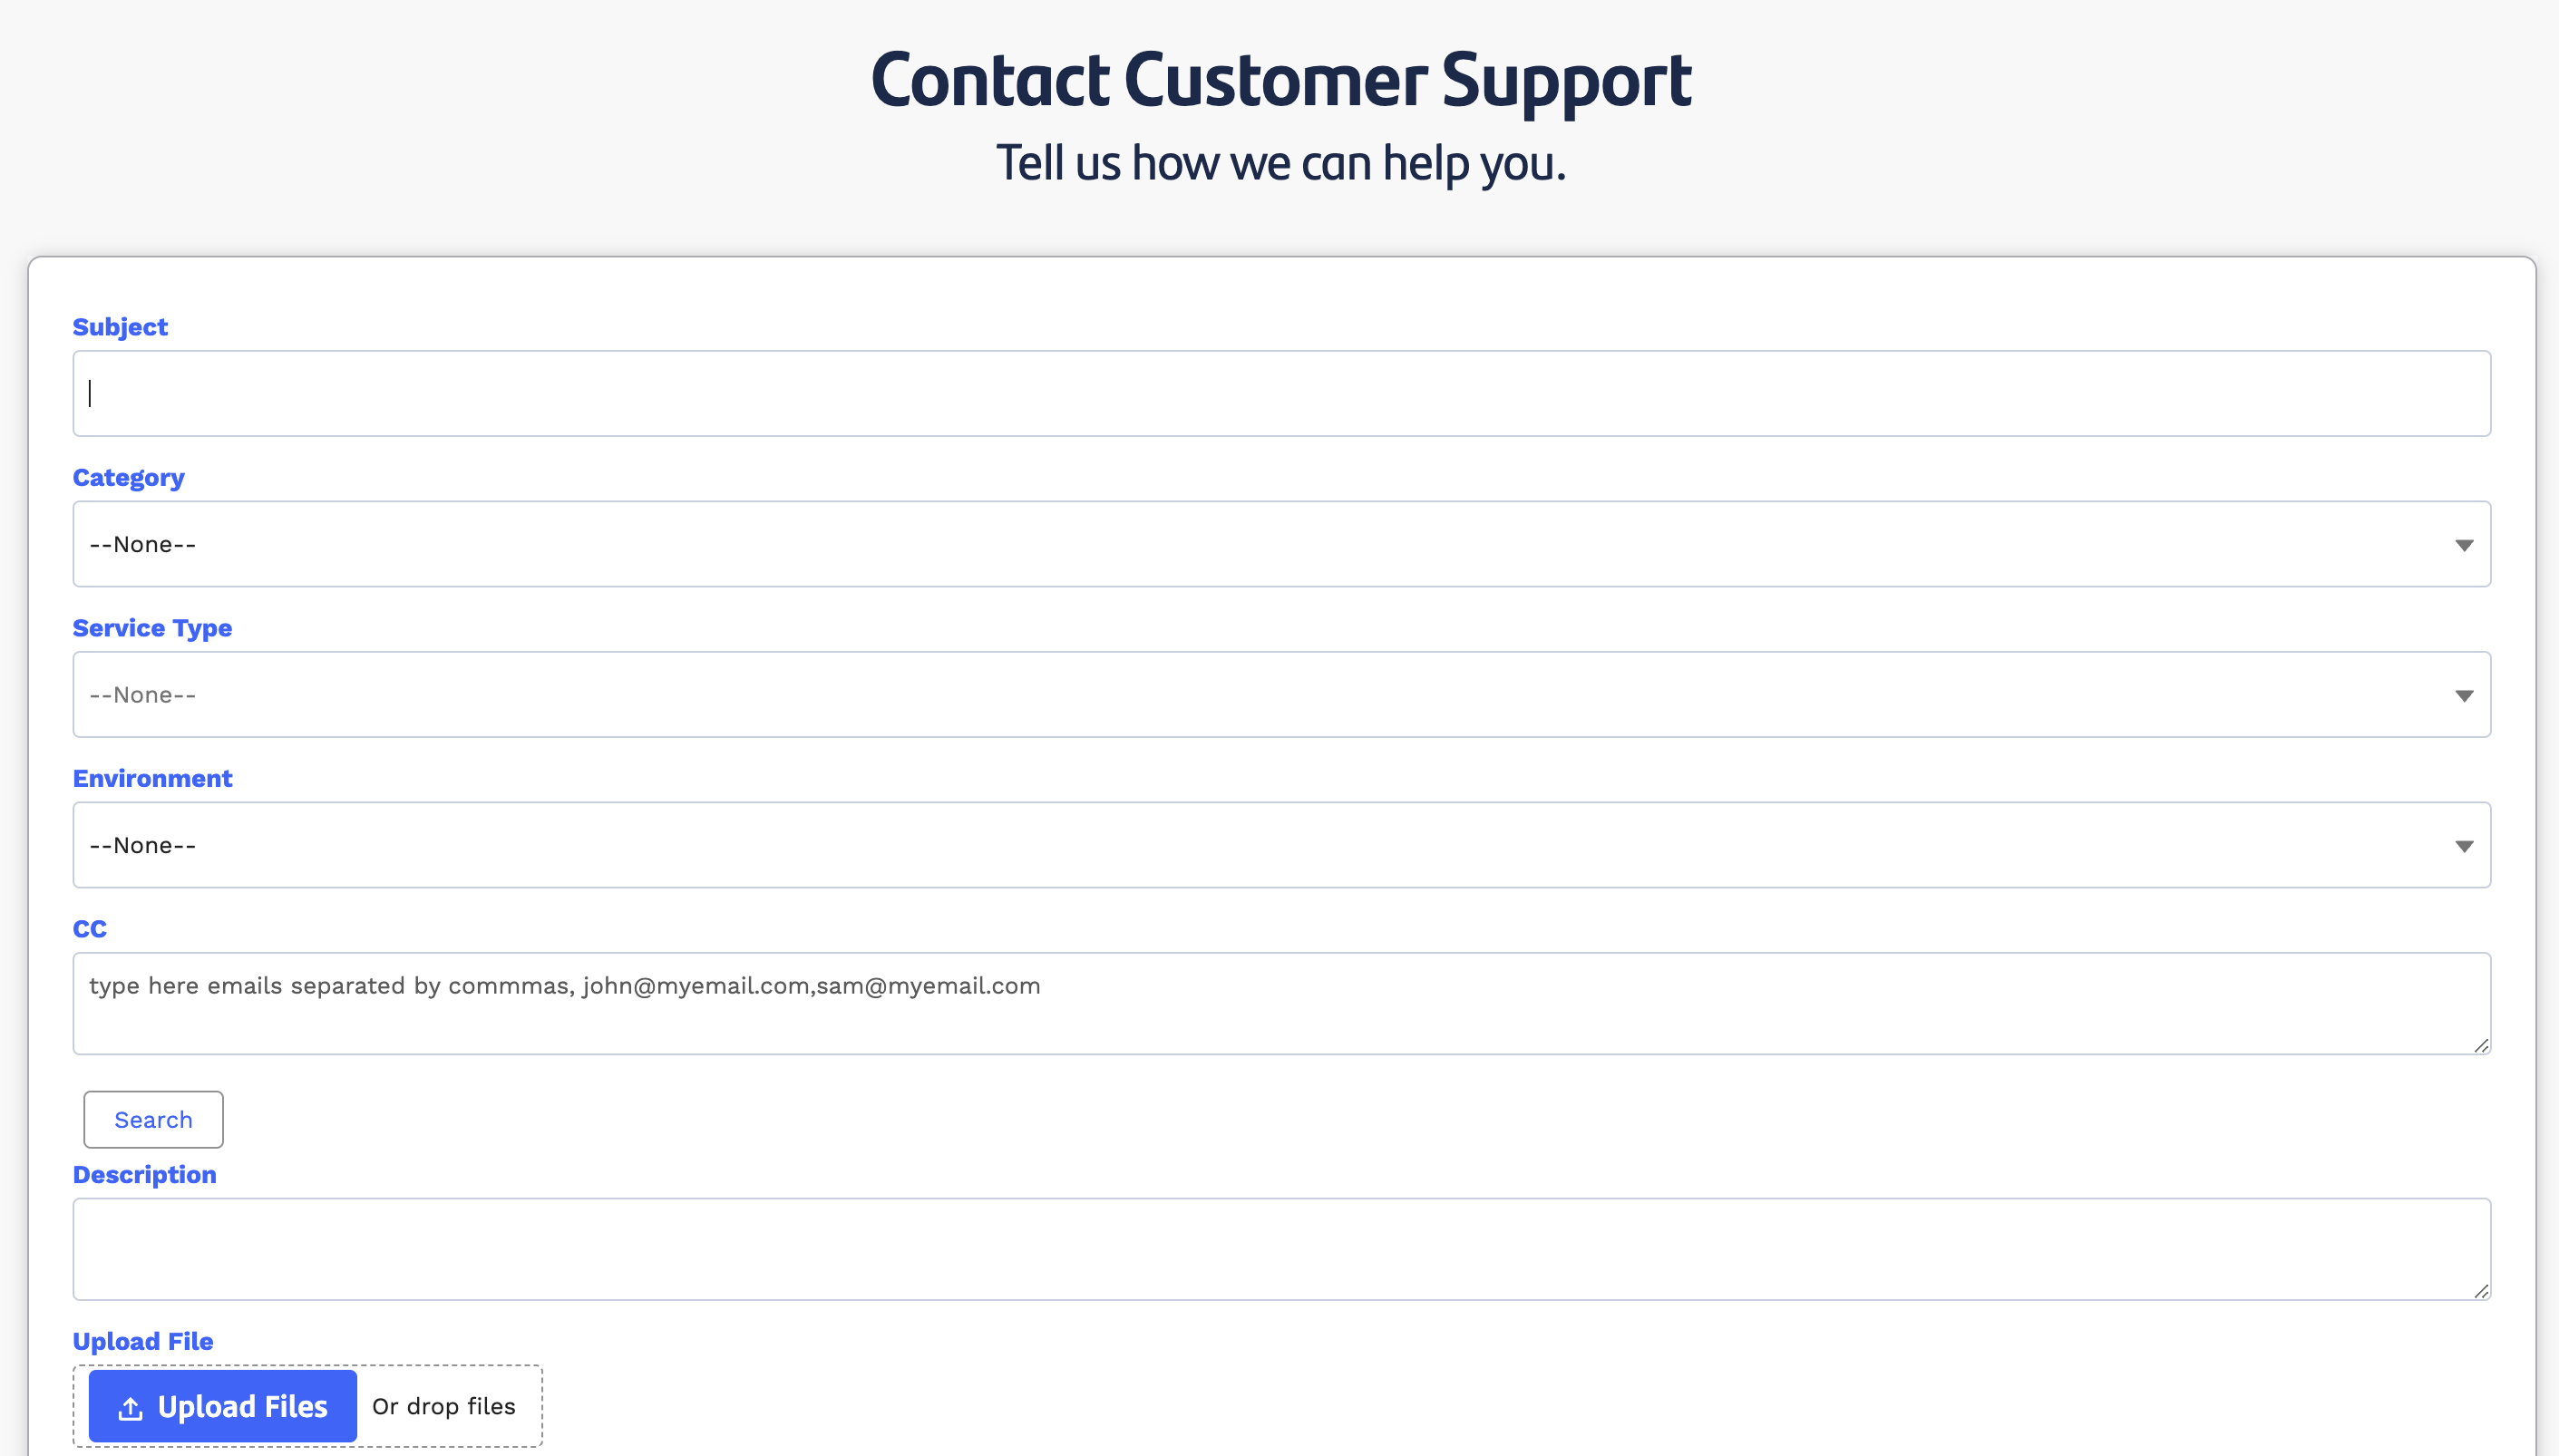
Examples of a Service request ticke
Notifications & Updates
All recipients of the ticket, including the requester and any individuals copied on the email, will receive a confirmation as soon as the ticket is created. Furthermore, they can access the ticket in the Tickets section, which can be found at the top right corner of the interface.
.png)
In instances where an incident is deemed High Priority and the customer has reached out to the PagoNxt On Call Service, the requester(s) will receive updates as per the SLA matrix specified in section 4, 'SERVICE MANAGEMENT', of the SUPPORT MODEL document.
Track and export tickets
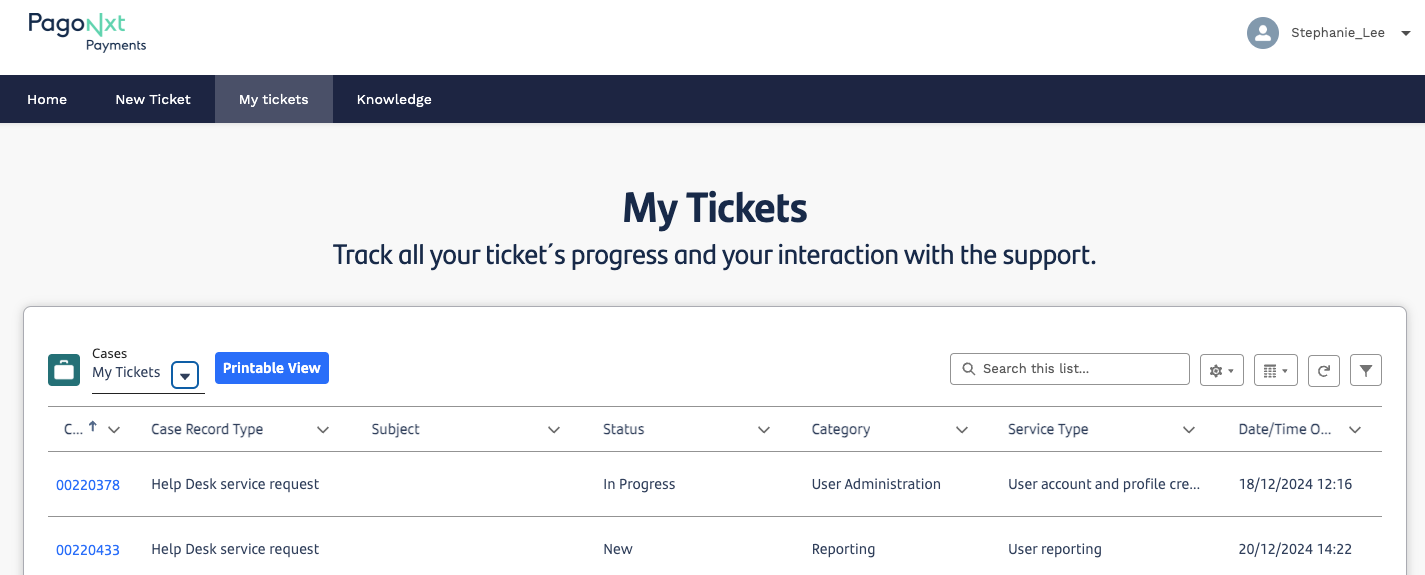
To view all the tickets you have created or been included in, click the ´ My Tickets´ tab in the top navigation. A screen will appear with your recently viewed tickets.
There is a right hand navigation which also allows you to filter your tickets by e.g. status or date created.
To view and download a file of all of your tickets, click on the ´Cases´ tab and select ´My Tickets´ and then ´Printable View´ to export.
User Management
New user
New users can gain access by submitting a ticket initiated by an approved requester within your organisation. To start this process, please follow the flow: Service request > Helpdesk access. In the free text field, kindly include the name and email address of the individual who requires access. Please note that requests made by individuals who are not designated 'Approvers' will be denied.

Password reset
If you´ve forgotten your password, you navigate to go the login page as though you are about to login then click the ´Forgot you password?´ link below the login fields.
Trouble shooting and support
If you´re having difficulty accessing or navigating the tool, please get in touch with your customer support manager